Raspberry Pi + Node.js + Socket.IO + Twitter Streaming API = Internet Bliss
February 27, 2014
Update: Twitter no longer offers the Streaming API option.
I've had an idea floating around for to build a tiny web app that does nothing but display new Tweets as they roll in from my Twitter User Stream. I envisioned displaying the resulting feed on a spare laptop or an old smartphone 24/7. Node.js felt like it might be a good solution to make that happen. After reading through the Node docs and a quick search on Stackoverflow, I found a great example of making this project happen with both Node.js and Socket.IO.
Here's a look at my version of this app which also includes a bit of CSS to make things look better in the browser.
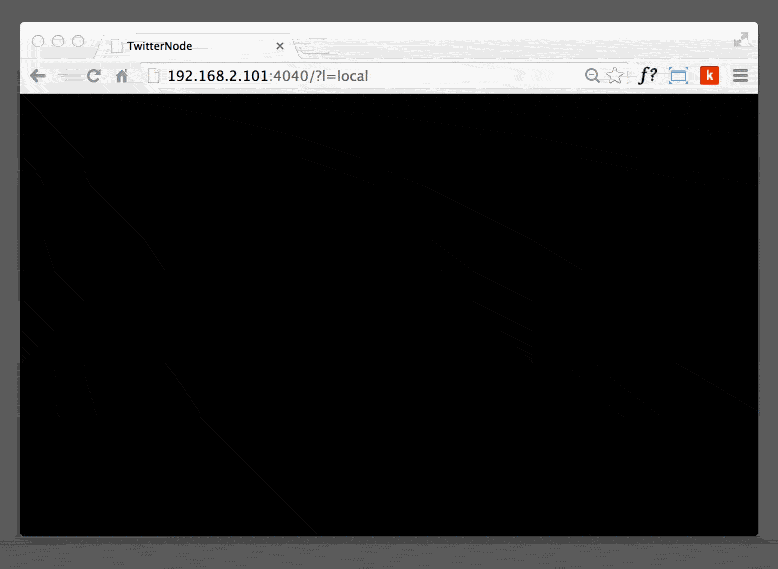
Check out the end result running on my Raspberry Pi.
I won't go into installing Node.js as it's pretty straight-forward from their site. You will need to install a few extra packages, but that's easy enough:
npm install express socket.io twit
The application code is shown below, but also hosted on Github for easy download. We'll start with the server (server.js) where the Twitter stream is consumed and processed. In this version I'm using the Twitter Firehose and limiting the Tweets that come back based on a keyword. In this case, any Tweet that contains the word 'Nashville' will be displayed in the browser.
javascript server.js
var express = require('express')
  , app = express()
  , http = require('http')
  , server = http.createServer(app)
  , Twit = require('twit')
  , io = require('socket.io').listen(server);
server.listen(4040);

// routing
// Tell Node to load node-twitter-stream.html when the browser requests /
app.get('/', function (req, res) {
  res.sendFile(__dirname + '/node-twitter-stream.html');
});

// Tell Node to serve the CSS file when requested
app.get('/node-twitter-stream.css', function (req, res) {
  res.sendFile(__dirname + '/node-twitter-stream.css');
});

// When processeing the Twitter firehose, only show Tweets with this keyword
var watchList = ['nashville'];

var T = new Twit({
consumer_key:             'your key here'
  , consumer_secret:      'your secret here'
  , access_token:         'your token here'
  , access_token_secret:  'your token here'
});

io.sockets.on('connection', function (socket) {
  var stream = T.stream('statuses/filter', { track: watchList })
  //var stream = T.stream('statuses/sample') // Firehose (sampling of all Tweets)
  //var stream = T.stream('user') // Your user stream

  // When a Tweet is recieved:
  stream.on('tweet', function (tweet) {
    // Makes a link the Tweet clickable
    var turl = tweet.text.match( /(http|https|ftp):\/\/[^\s]*/i )
    if ( turl != null ) {
      turl = tweet.text.replace( turl[0], '<a href="'+turl[0]+'" target="new">'+turl[0]+'</a>' );
    } else {
      turl = tweet.text;
    }
    var mediaUrl;
    // Does the Tweet have an image attached?
    if ( tweet.entities['media'] ) {
      if ( tweet.entities['media'][0].type == "photo" ) {
        mediaUrl = tweet.entities['media'][0].media_url;
      } else {
        mediaUrl = null;
      }
    }
    // Send the Tweet to the browser
    io.sockets.emit('stream',turl, tweet.user.screen_name, tweet.user.profile_image_url, mediaUrl);
  });
});
The HTML file is static except for a small piece of JQuery that fades the old Tweet out and fades the new Tweet in. If a Tweet has a photo attached to it, the photo is added as a background image (node-twitter-stream.html).
html node-twitter-stream.html

<!DOCTYPE html>
  <head>
    <title>TwitterNode</title>
    <meta name="apple-mobile-web-app-capable" content="yes">
    <meta name="apple-mobile-web-app-status-bar-style" content="black">
    <link href='http://fonts.googleapis.com/css?family=Vollkorn' rel='stylesheet' type='text/css'>
    <link rel="stylesheet" href="/node-twitter-stream.css">
    <script src="/socket.io/socket.io.js"></script>
    <script src="https://ajax.googleapis.com/ajax/libs/jquery/1.7.2/jquery.js"></script>
    <script>
      var socket = io.connect('http://localhost:4040');
      socket.on('stream', function(tweet, user, avatar, media) {
        $( "#tweetd" ).fadeOut( function(){
          $( "#bg-image" ).css( "background-image","");
          $( "#tweetd" ).empty();
          $('#tweetd').prepend('<div class="image"></div><div><img src="'+avatar+'" width="48" height="48"><a href="http://twitter.com/'+user+'" target="_blank">@'+user+'</a> '+tweet+'</div>');
          if ( media ) {
            $( "#bg-image" ).css( "background-image","url("+media+")");
          }
          $( "#tweetd" ).fadeIn();
        })
      });
    </script>
  </head>
  <body>
    <div id="tweetd">Waiting for Tweets...</div>
    <div id="bg-image"></div>
  </body>
</html>
Here is the CSS (node-twitter-stream.css) that styles the application. There's a small media query used here for better display on smartphones.
css node-twitter-stream.css

body {
  background-color:#000;
  color:#ddd;
  font-family:'Vollkorn', serif;
  font-size:4em;
  letter-spacing:-0.04em;
  margin:0;
  padding:50px 75px 0 75px;
}

a {
  color:#ff5842;
}

img {
  float:left;
  position:absolute;
  right:0;
  bottom:0;
}

div {
  word-wrap:break-word;
}

#bg-image {
  background-size:cover;
  background-position:center center;
  opacity:.35;
  position:absolute;
  top:0;
  right:0;
  bottom:0;
  left:0;
  z-index:-10;
}

@media only screen and (device-width: 320px) {
  /* Style adjustments for viewports 520px and lower */
  body { font-size:6em; }
}

@media only screen and (device-width: 320px) and (-webkit-min-device-pixel-ratio: 2) {
  /* Style adjustments for viewports 520px and lower */
  body { font-size:6em; }
}
With Node installed locally, you can now run this app and take a look in your browser.
node server.js
I wanted to access the app from anywhere and running from a Raspberry Pi over the internet seemed like a good option. There's a great write-up on Matt's Blog that explains how to get Node running as a service. In other words, your Node app can run behind the scenes even after rebooting your Raspberry Pi.
That's it! You can now access your Node app from anywhere on any internet connected device. One item to watch out for, however, is the IP address you specify in the HTML file.
var socket = io.connect('http://localhost:4040');
For internet users, you'll need to specify your external IP address. For clients on your local network, the Pi's local IP address will be required. I ended up using a URL variable that would determine which IP address to use.