How to Turn a Google Mini into a Home Server
October 17, 2010
Turning a Google Mini into a home server is easier than you think. There are a few barriers to entry (funky screws and BIOS passwords, for example) but these can all be circumvented.
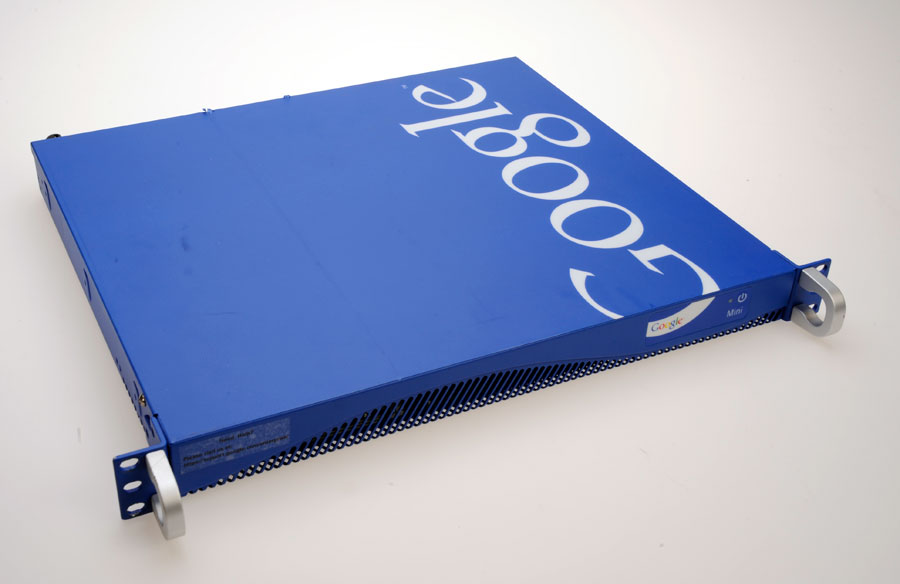
Work was getting ready to recycle the old Google Mini that once ran our site search, so I asked if I could have it in the hopes of repurposing it as a home server. The small size and fun color had great potential for home use. Not to mention the decent hardware inside.
The Google Mini is a search appliance that many companies use to power search on their website or index documents on their intranet. The Mini is basically a super stripped down version of what Google uses to crawl the web. We ran the Google Mini as our site's search index for several years before moving on to more custom methods. It had its limitations, but served us well.
At home I've been running a very underpowered Dell N-Series as my home server. It mostly serves files, but does do a little heavy lifting from time to time calculating litter box uses and capturing video. Simple SQL queries seem to bring it to its knees as of late. The maxed out 792MB of RAM, Celeron CPU and ancient IDE drives don't help much, either.
With a 3.0Ghz dual core/threaded Pentium 4, 2GB of RAM and SATA hard drive, the Google Mini is a worthy upgrade.
Getting a new OS on the Google Mini
The Google Mini runs a custom version of Red Hat Linux. However, booting up yields no command line access much less a GUI. No problem. We want a new OS on this thing anyway. We just need to change our start-up options in the BIOS and boot from an external optical drive or USB drive. Unfortunately, the BIOS is password protected. Getting around the BIOS password requires opening the case and reseting the CMOS.
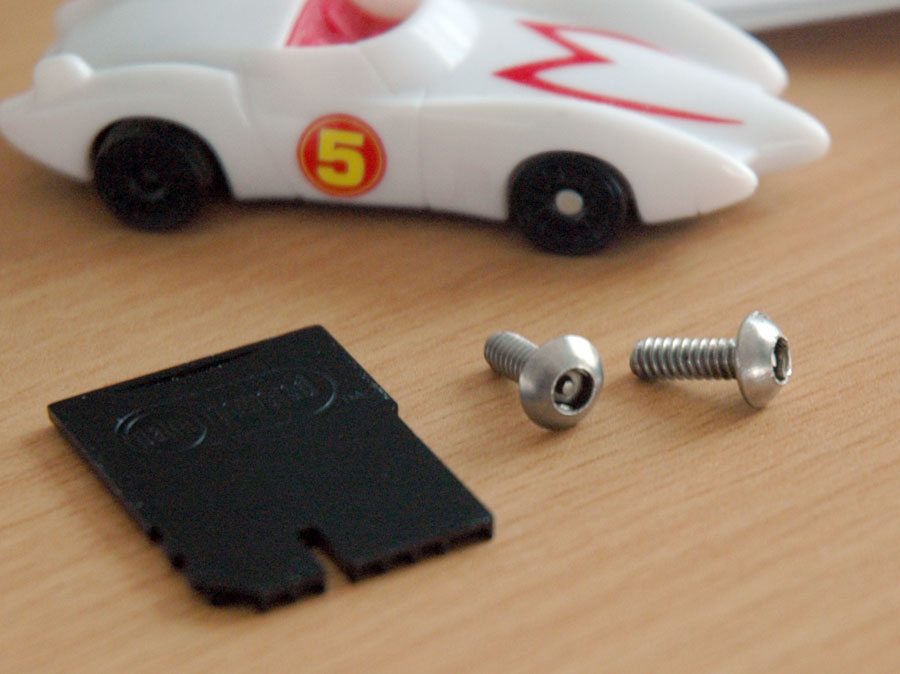
Step 1 — Unscrewing the Lid
The lid to the Google Mini is fastened with two screws designed to keep people out. The non-standard screw heads look difficult at first, but simply wedging a small flat-head screwdriver into the head loosens the screws right up. They might as well have used flathead screws, it's that simple.
Step 2 — Removing the Giant Google Sticker
We have the screws out, but the lid can't slide off because of the big blue Google sticker that covers the entire top of the server. The sticker must be peeled off in order to remove the lid. This was the most time consuming process. I still have sticker residue that I need to clean off. However, once the sticker is peeled back, the lid slides right off.
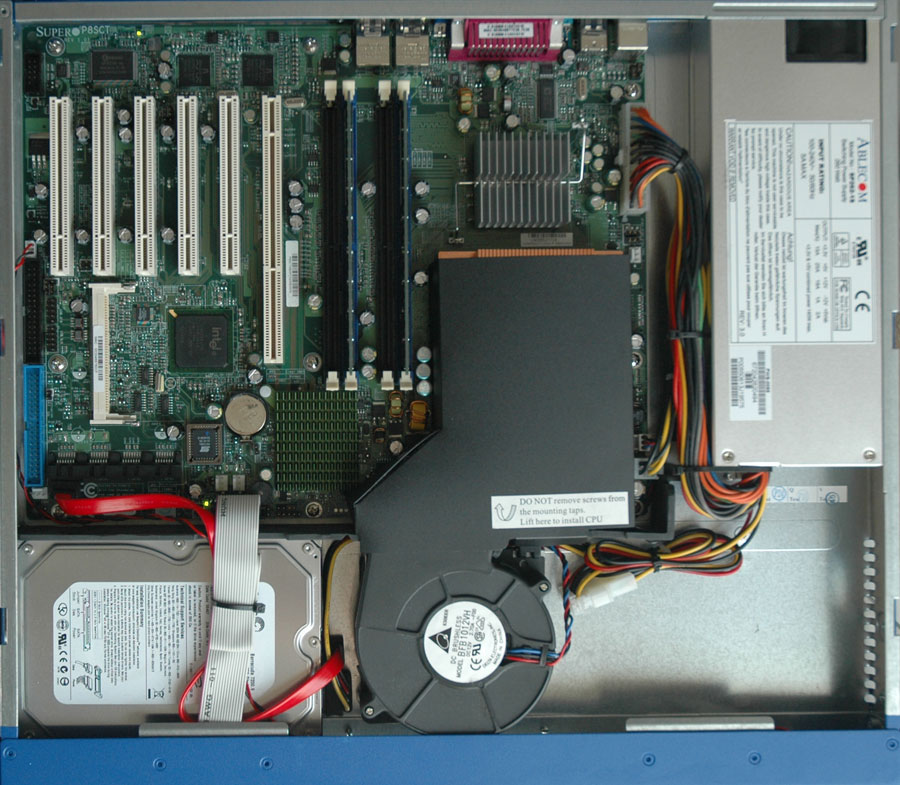
Step 3 — Resetting the BIOS
Different Google Minis come with different internals. This one happened to have a single processor Super Micro Computer SUPERO P8SCT motherboard. Other Minis have come with dual processor Pentium 3 boards. In our case, to clear the CMOS and eliminate the BIOS password requirement, I had to bridge two contact pads with a screwdriver. Close everything up, power on the machine, hit the DEL key and straight into the BIOS we go.
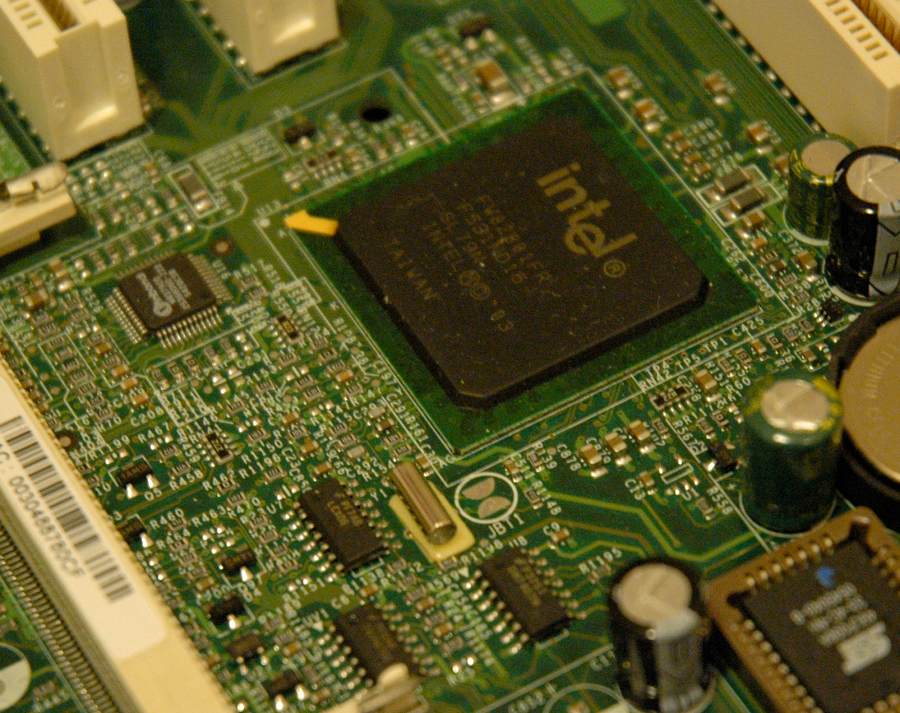
The two contact pads to bridge with a screwdriver.
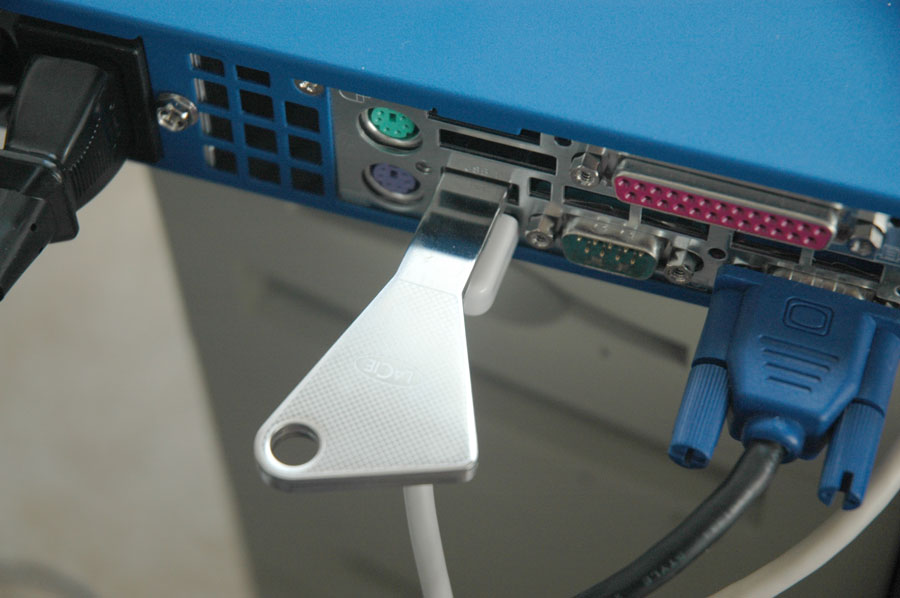
Step 4 — Install an OS from USB Key
In addition to setting the boot device order I also had to set the hard drive boot order in the BIOS. In this case, my USB key was showing up as a second hard drive. With Ubuntu on the USB key, I simply plugged the drive into a free USB port and the Google Mini booted right off the USB drive. Installation went smooth, the machine rebooted and now I have a speedy home server ready to serve. There's only one problem for home use...
Step 5 — Silencing the Google Mini
The Google Mini runs loud. The processor fan is terribly noisy. Much too noisy for a home environment. Now I'm stuck trying to find a way to shut it up. In my case I'll probably end up building a special sound deadening shelf in the laundry room where the Mini will reside. I've also thought about transferring the motherboard into a new case with quiet fans. But then you lose the cool blue form-factor of the Mini.